
Your Fallbreaker will be delivered with a copy of these Installation Instructions
Customised to your floor plan
- Review a copy of your floor plan supplied with the FALLBREAKER and note the starting point marked with a highlighter. Locate the corresponding point on your FALLBREAKER and place the product on the corner.
- Then, unfold as per the arrows on your floor plan until the marks on the FALLBREAKER line up with the exterior of the frame and the product overlaps by 300mm.
- Stretch out the FALLBREAKER over the top plates.
- Place the truss packers on top of the FALLBREAKER nailing off at 300mm centres.
- Create a 65mm hole in the centre of each room to allow for drainage of rainwater. Melt holes using a map gas burner OR run a hole saw in reverse.
- Fill bags supplied with sand and place near the drainage holes. Do not allow holes to become blocked.
Installation Sequence
 Unfold
 Position
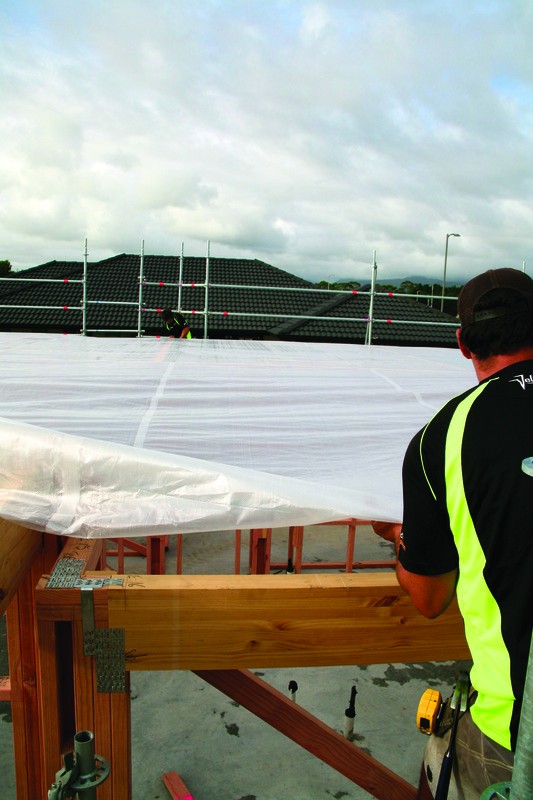 Stretch
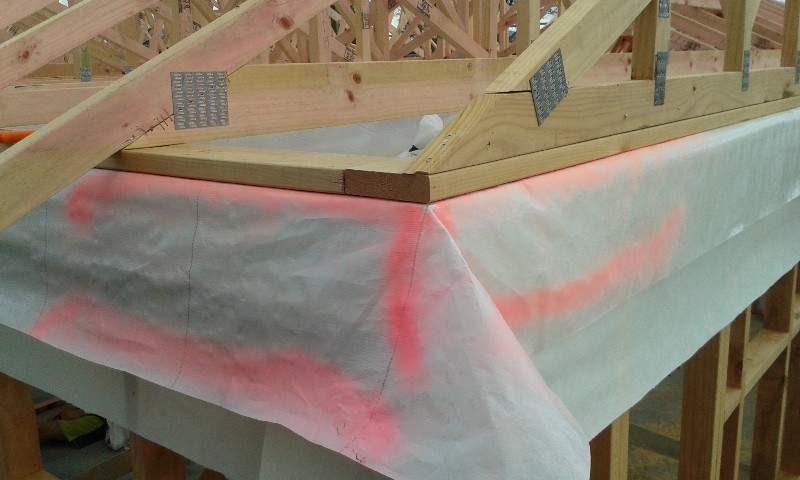 Overlap
 Staple
 Nail
Nail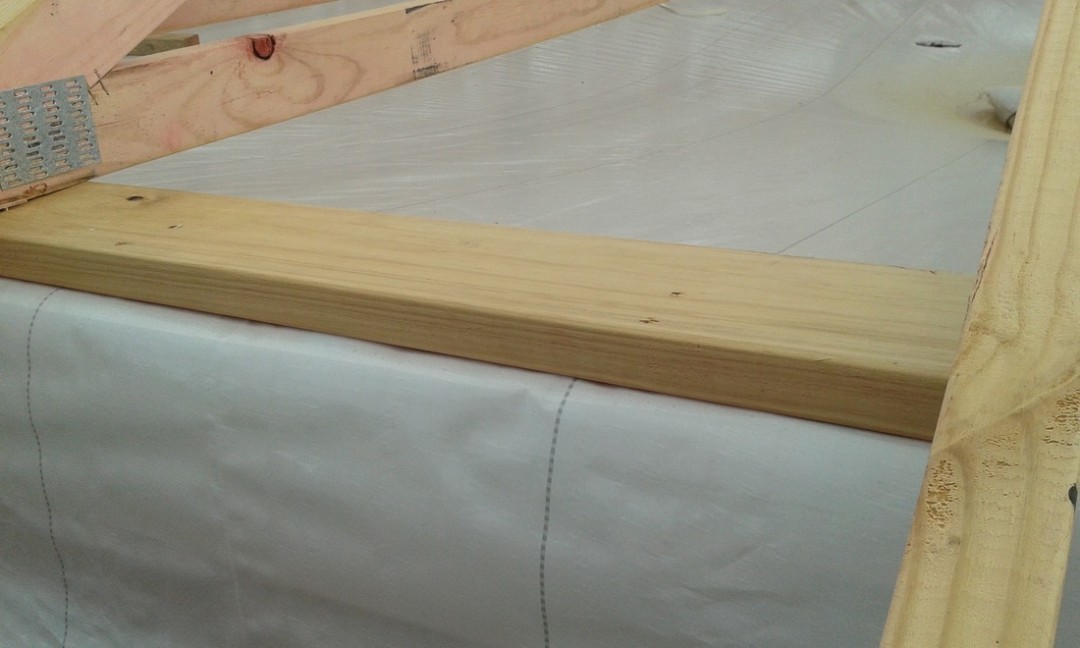 Nailing Done
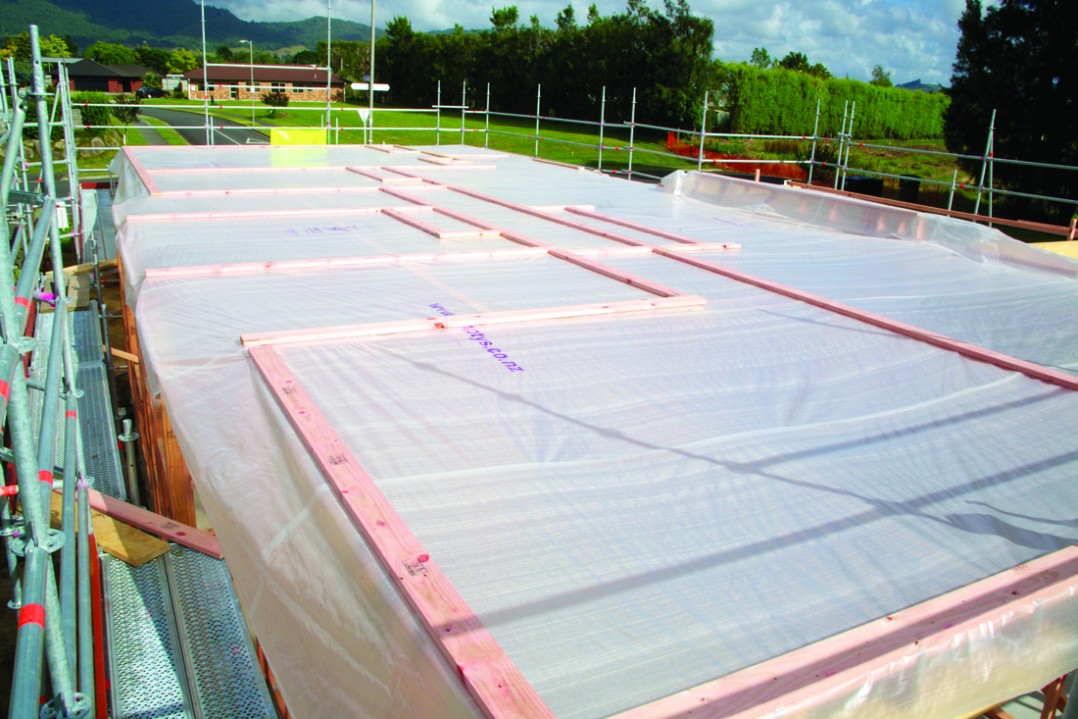 Set drainage
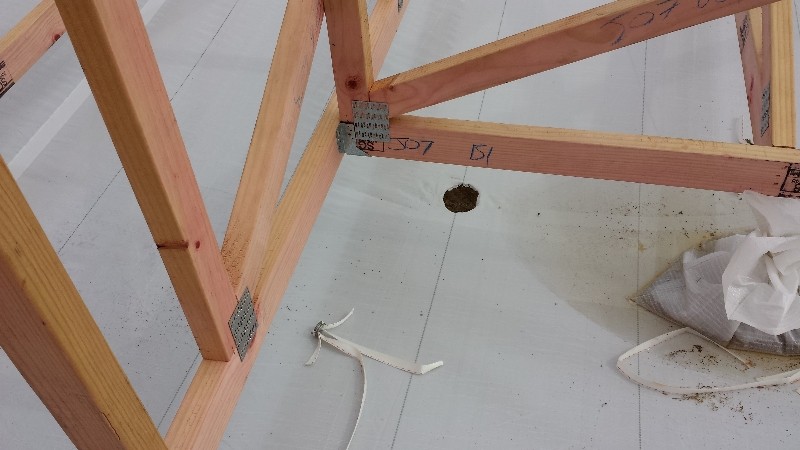 Drain Holes
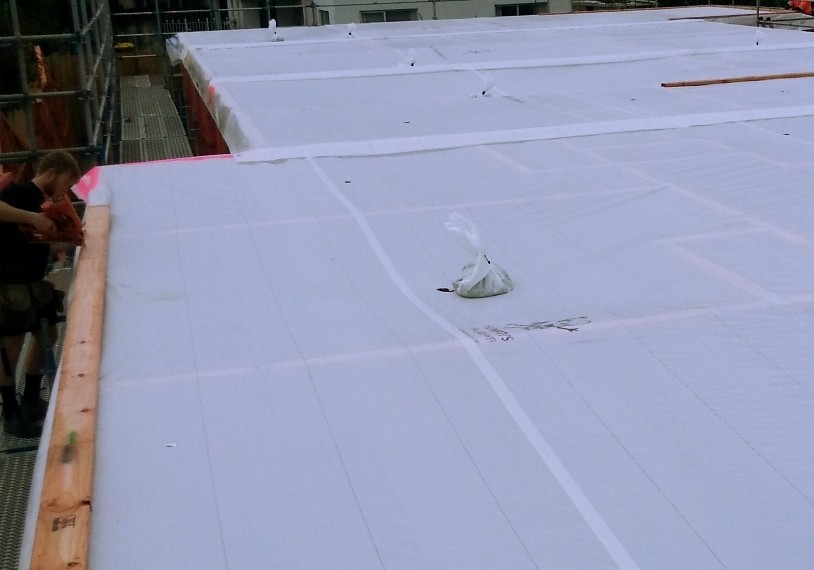 Place Sandbags
 Complete
 Safe Below
 Non-customised - ie buying a piece off the roll
Cut your required length of FALLBREAKER allowing for a 300mm overlap on the perimeter. Where sections are overlapping but unsupported by an internal wall, the overlap is to be no less than 500mm. Continue as above from numbers 3-6.
Removing your FALLBREAKER
Tape your cutting knife to a pole and walk around the inside of your rooms to cut out your FALLBREAKER. The product must be removed prior to ceilings being installed.
Safety Notes
Your HUMPTY'S FALLBREAKER has been tested and certified. Refer to compliance details, falling heights and weights here.
Disclaimer
This product is a fall arrest solution and must be installed as per the manufacturer's instructions. The manufacturer will not accept any responsibility for incidents that result from incorrect installation or treatment of this product in uses that it is not intended for.
Downloads
Please Note:
Each customised FALLBREAKER comes with its own serial number.
A tag is attached at the starting point and must be left in place at all times.
The product should be used within 6 months of receiving and stored under cover at all times prior to installation.
After installation, the product should not be exposed to the weather for longer than 3 months.
Inspect your FALLBREAKER daily after installation to ensure that no drain holes are blocked and the surface is clear from debris and undamaged.
Do not use the FALLBREAKER as a work surface; please avoid walking across it between frames.
The product is designed for a single use only and should be disposed of thereafter.